Many people have heard that Anki is a magic tool for memory, but upon downloading it, they find the interface looks like software from the last century and are immediately “persuaded to quit”. In fact, as long as you understand the following three steps, you can easily get started.
Step 1: Download and Install, Look for the Official Version, Don’t Waste Money
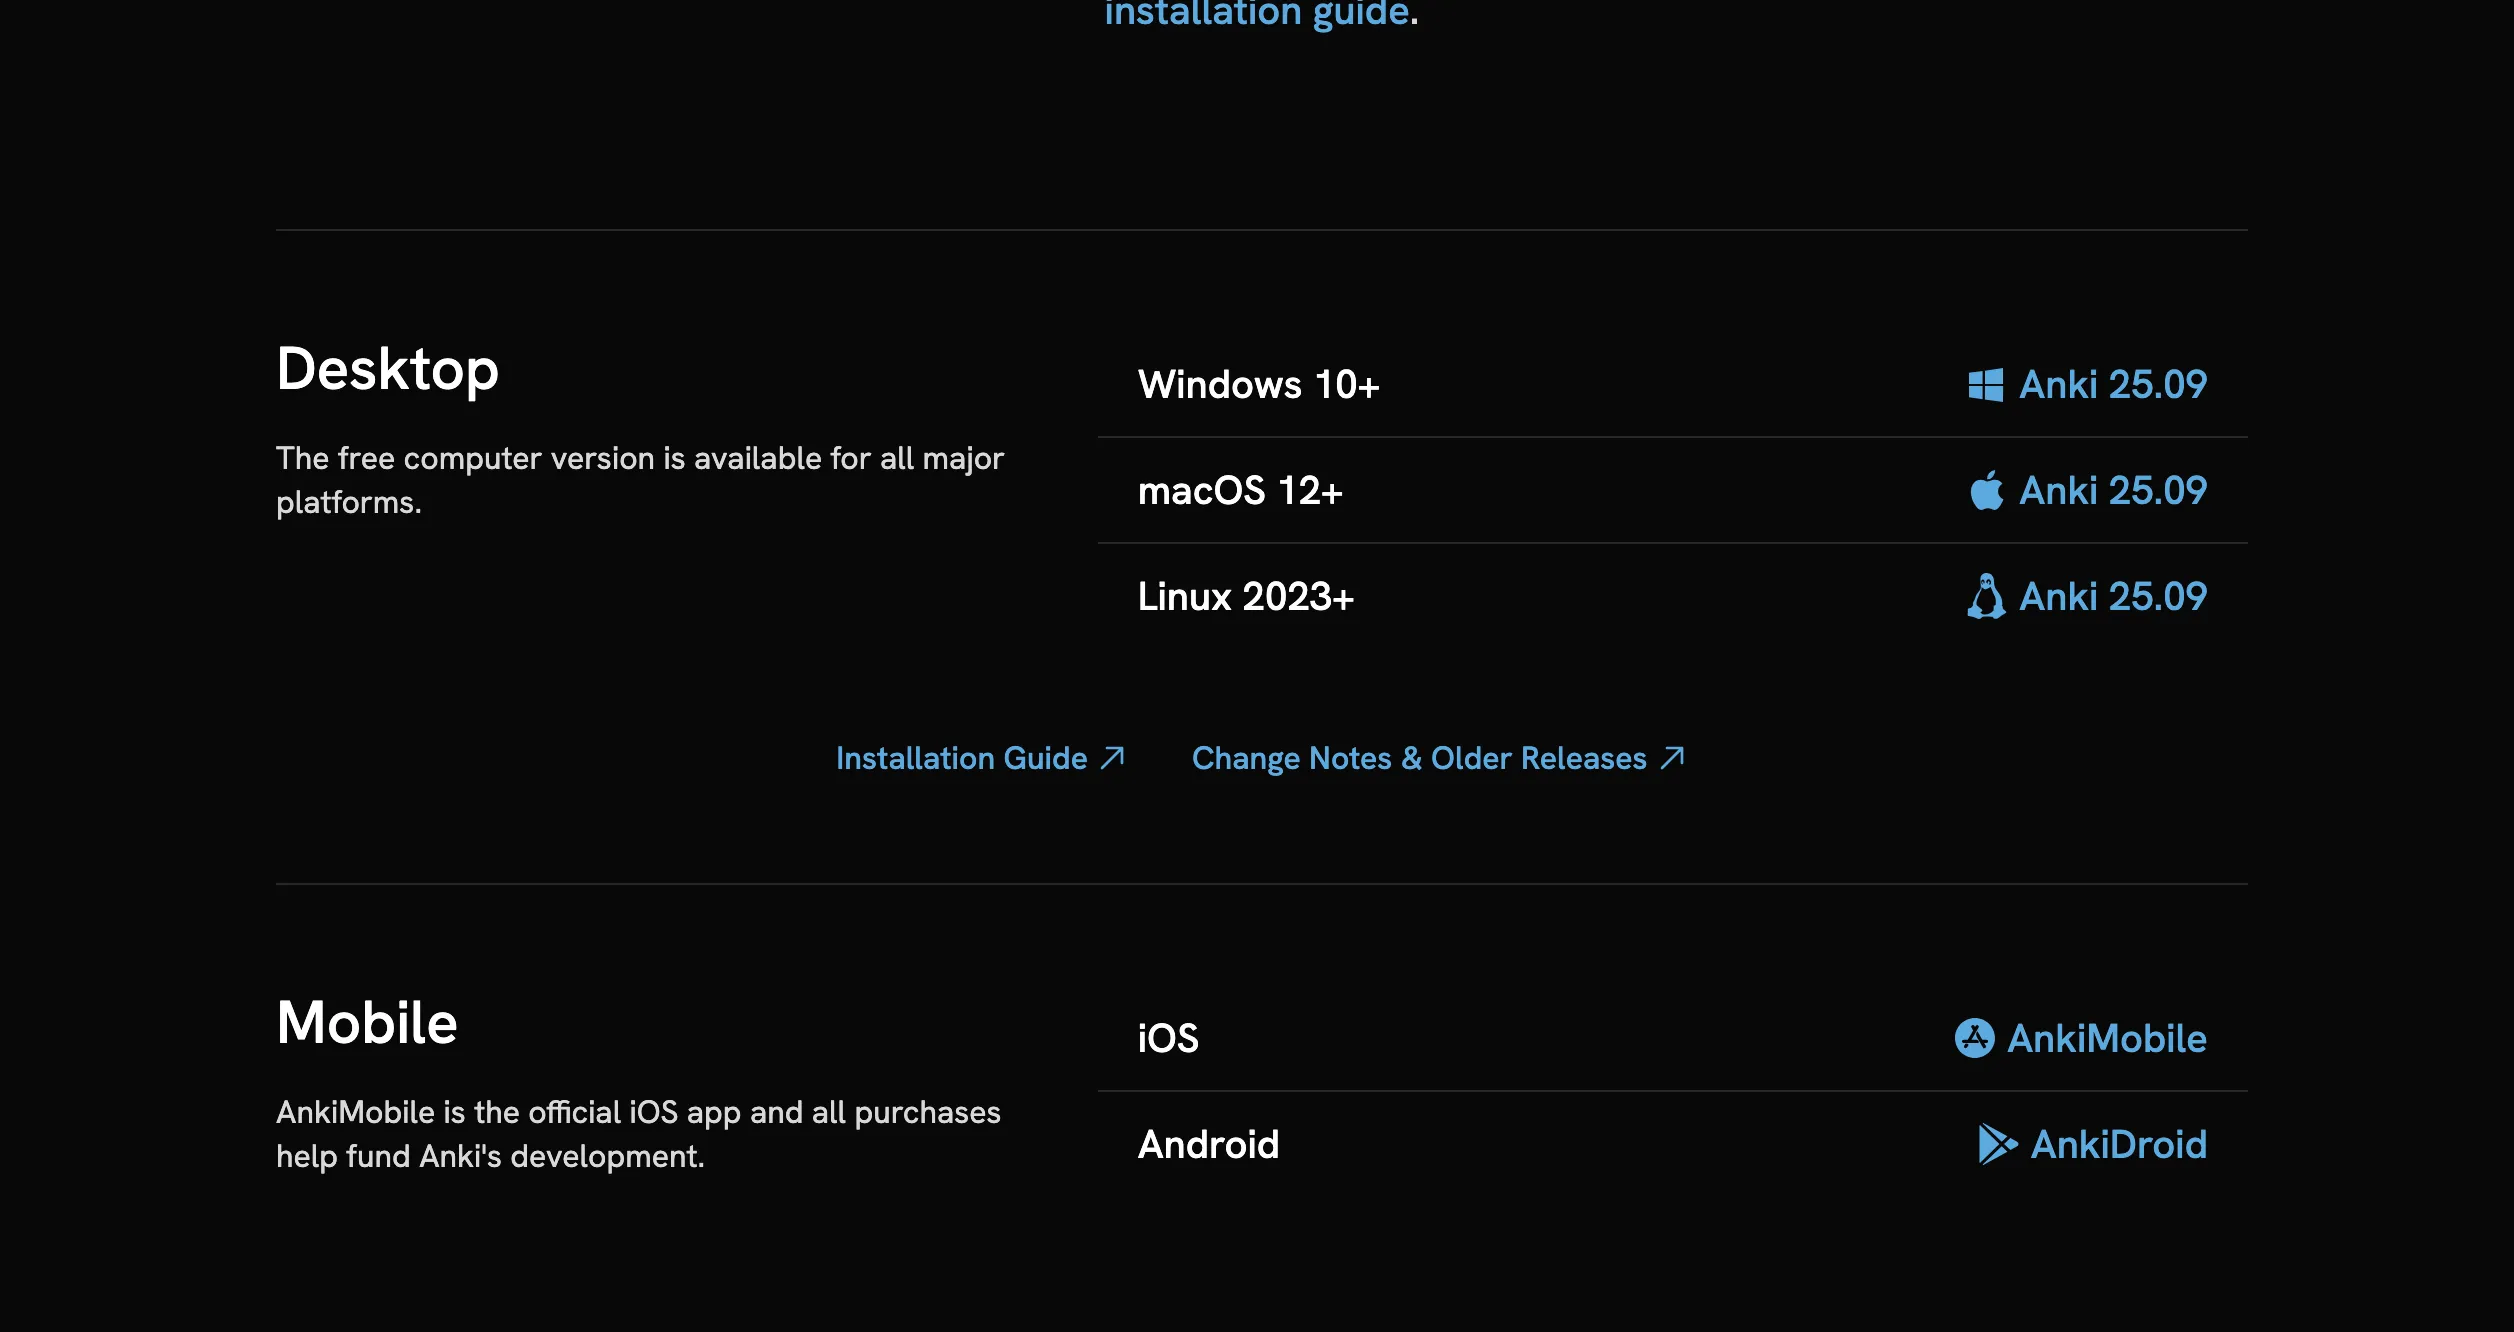
Anki is open-source software, and its official pricing logic is very simple: the desktop and Android versions are completely free, and only the Apple mobile version, which is the iOS app, requires payment.
-
Desktop Version, Windows / Mac
This is the core version, and it is highly recommended to install it.
- Official download: apps.ankiweb.net
- Make sure you use this exact URL, don’t randomly click ads in search engines.
-
Android Version, AnkiDroid
Completely free.
- You can directly search for
AnkiDroidin your phone’s built-in app store. - If you can’t find it, go to the official website, click the Android icon, and download the corresponding APK installation package.
- You can directly search for
-
Apple Version, AnkiMobile
This is the only paid official version, priced around 100+ RMB (roughly 25 USD).
Beginner’s tip: This is basically an important source of income for the official team to maintain servers and the ecosystem. If you don’t want to buy it for now, you can use the desktop version first, or simply use your mobile browser to open
ankiweb.netto review cards for free.
Step 2: How to Quickly Get Content and Import Decks
When many beginners think of Anki, they assume they have to manually create cards one by one, losing their will to live on the spot. In fact, this is completely unnecessary.
Many people on the internet have already shared ready-made decks, such as: IELTS vocabulary, Japanese N2, postgraduate entrance exam politics, etc. You can start with ready-made resources before deciding whether to make your own.
-
Obtain the File
The Anki resources you download usually have the file extension
.apkg. -
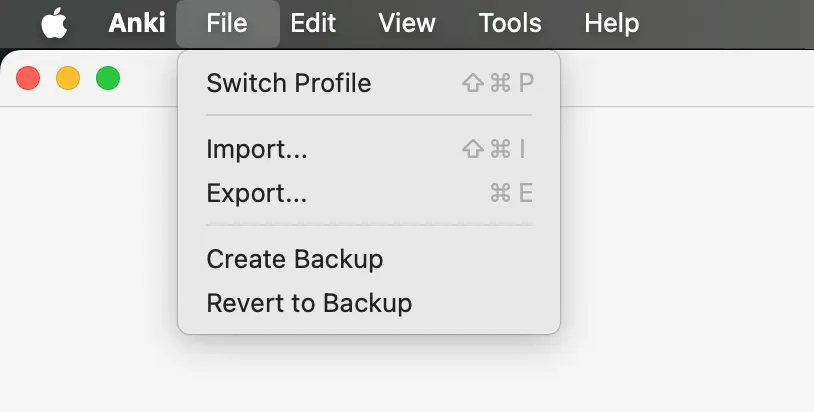
Importing on Desktop, the Easiest Way
- Open Anki.
- Click on Import File at the bottom.
- Select the downloaded
.apkgfile. - Confirm the import.
-
Importing on Mobile
- Transfer the file to your phone first.
- Select “Import” in the AnkiDroid menu.
- Or just tap the file in your file manager and select “Open with AnkiDroid”.
Step 3: How to Actually “Use” This Software
Anki is not meant to be “looked at”, but to “test” yourself.
-
Click on a Deck
Click “Study Now”.
-
Look at the Question First, Then Recall the Answer Yourself
The screen will first show the question, like a word or an example sentence. Don’t rush to look at the answer, think about it seriously in your head first.
-
Look at the Answer, Then Grade Yourself Honestly
After clicking “Show Answer”, several buttons will appear at the bottom. This is the core of Anki.
- Again: If you couldn’t recall it, or got it wrong, click this. Anki will show it to you again very soon.
- Good: You recalled it, but it wasn’t particularly effortless. This will usually be your most frequently clicked button.
- Easy: You are extremely familiar with this question. Click this, and Anki might not make you review it again for a long time.
Anki’s “magic” lies right here: the harder you find a card, the more frequently it appears. The things you are already thoroughly familiar with won’t keep bothering you.
Small Tips for Avoiding Pitfalls and Persevering
- Don’t Be Greedy: Adding 10 to 20 new cards a day is enough at the beginning. If you add too many right away, the subsequent review volume will overwhelm you directly.
- Register an Account for Syncing: It is recommended to register an AnkiWeb account on your computer. This way, you can review on your phone during the day and sync your progress on your computer when you get home at night.
- It’s a Tool, Not an End Goal: Don’t spend all your time messing around with interface beautification and plugins. What really matters is whether you consistently review the cards.
The link below contains some Anki cards I made myself, feel free to use them directly: